Simulation has transformed practical learning in medical education. To create realistic effects for simulations the use of moulds is often required. This blog post discusses how CSDS Simulation Assistant Bill Nancarrow created a mould for a fully enclosed uterus to replicate C-Section deliveries in Maternity Emergency Program (MEP) Advanced course by Queensland Maternity Education (QME).
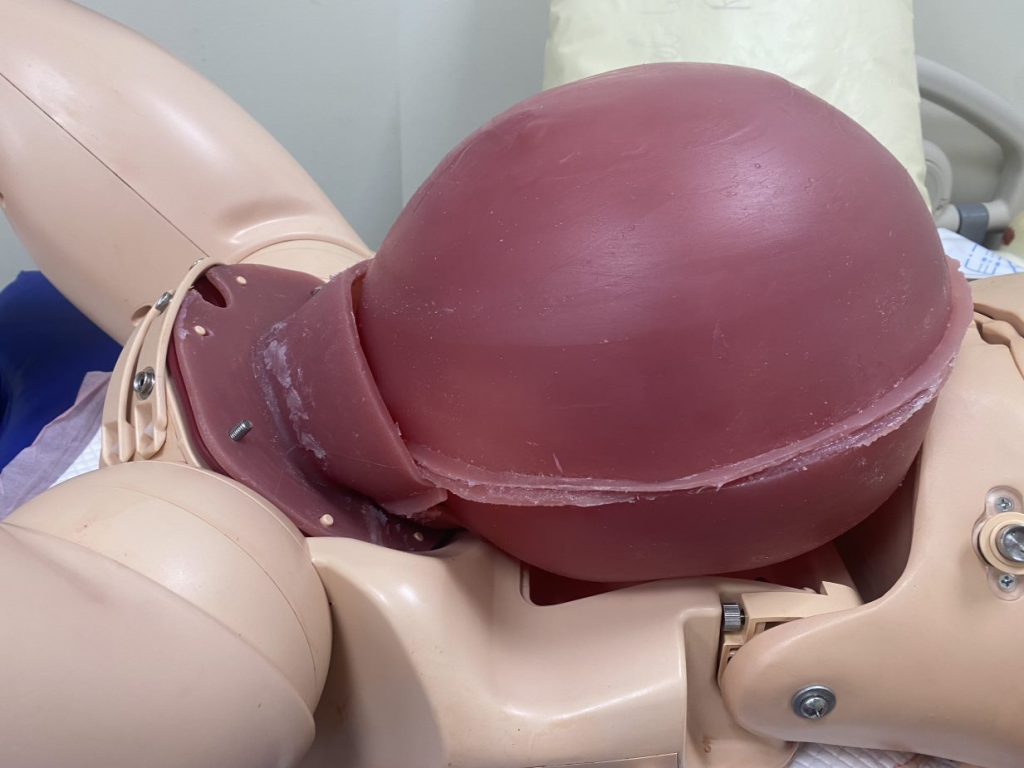
The previous uterus used in the MEP Advanced course had limitations, as it would collapse during C-Section deliveries. As a result, various modifications were attempted, including the use of a plastic ring and a flange, but they didn’t provide the desired stability or haptic feel.
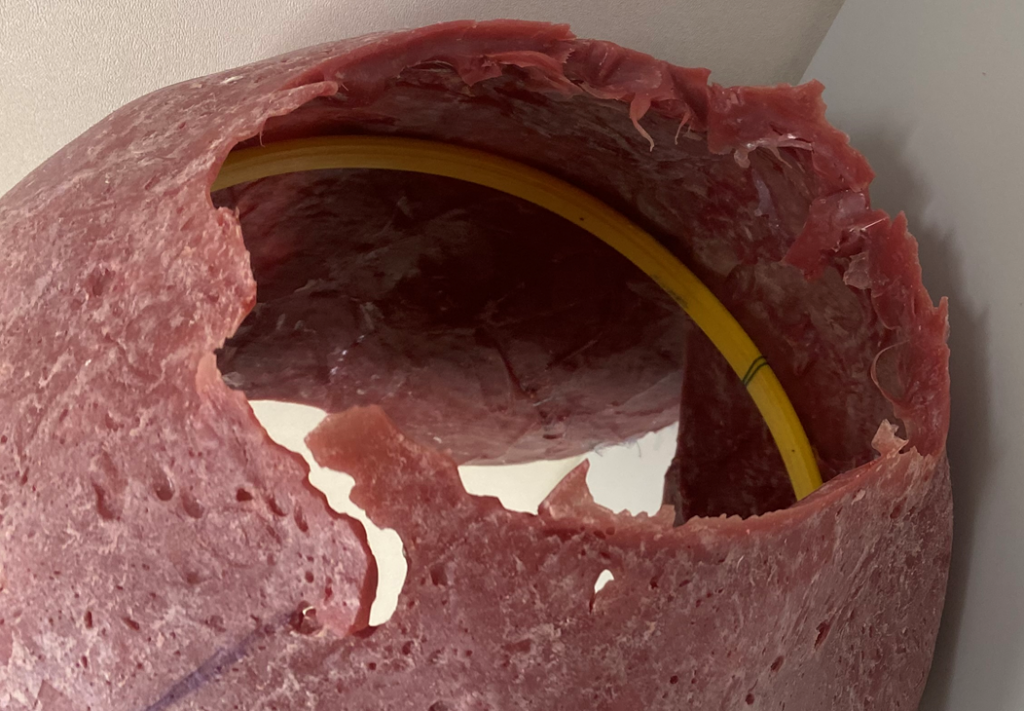
Therefore, it was evident that the course failed to offer a realistic anatomical view. This led Bill to creating a mould for a fully enclosed pregnancy uterus.
How to create a mould?
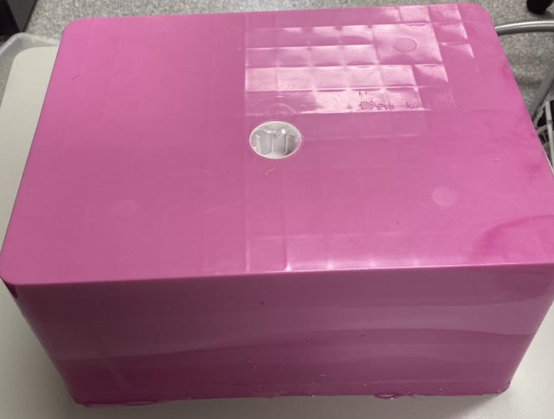
Build the mould box
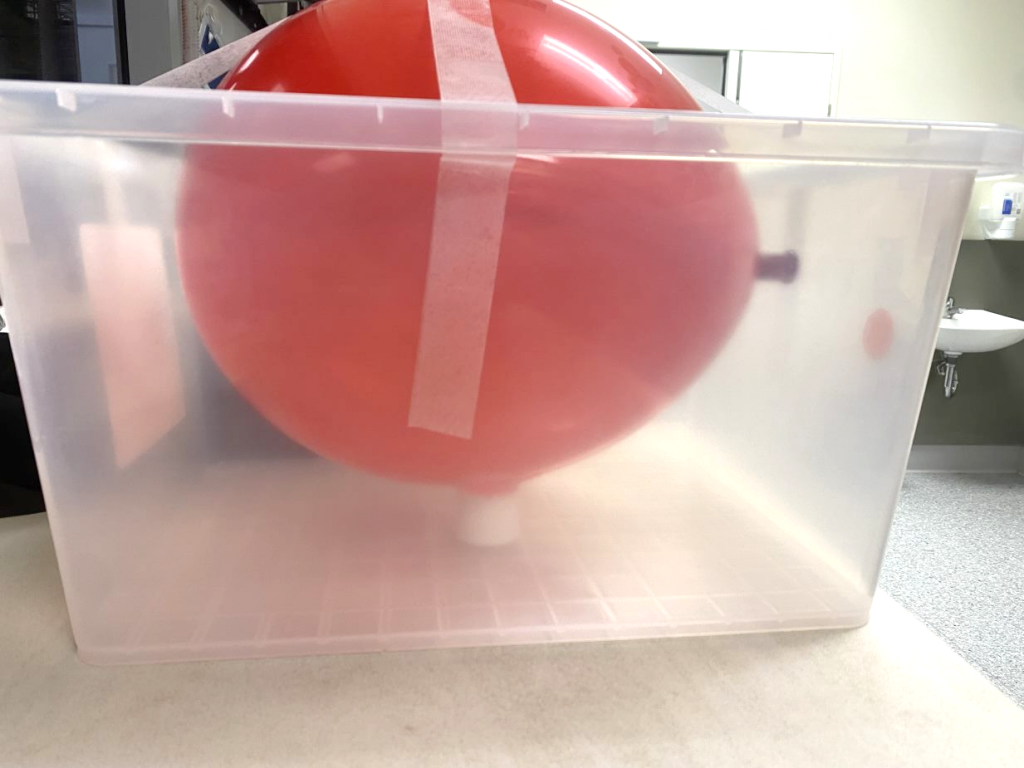
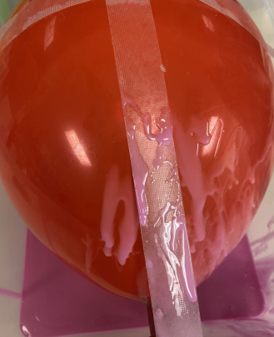
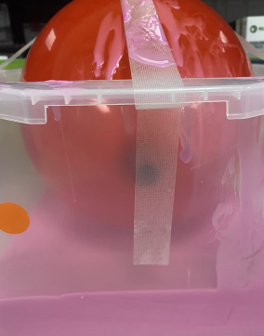
- Use a plastic container to create a fully enclosed uterus.
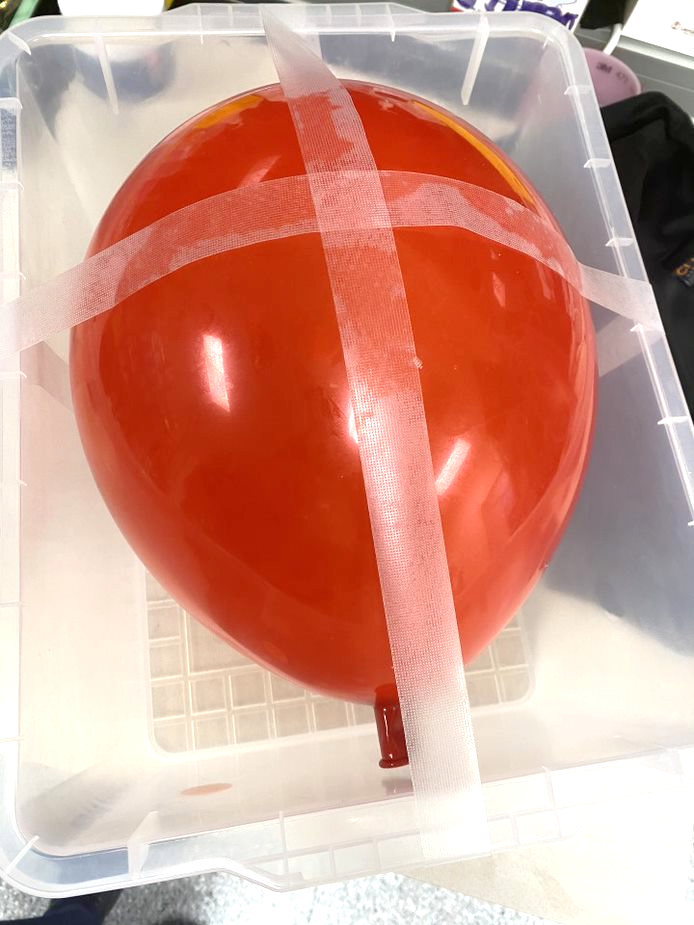
- Place two balloons inside each other to provide stability.
- Use a small plastic lid to support the inner balloon.
- Coat the balloon’s surface and the internal walls of the mould box with a silicone release agent spray.
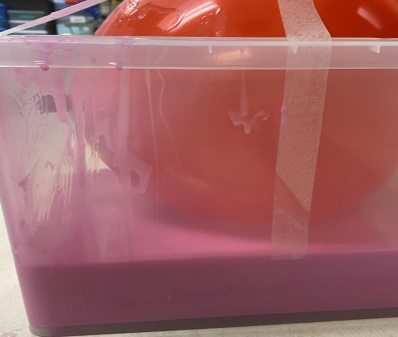
Pour the mould
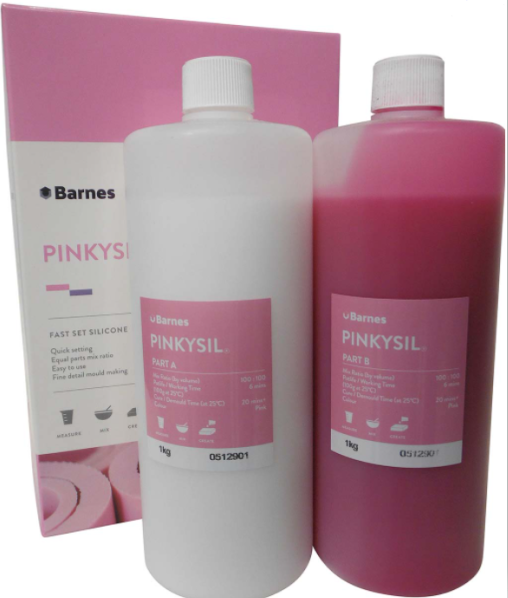
- Mix equal parts of part A and part B Shore A20 silicone rapid set and pour into the mould.
- Tap the walls of the mould box to release any trapped air bubbles.
- Fill the mixture to just over the halfway mark and leave to cure.
- Due to the size of the mould repeat the process as many times as needed.
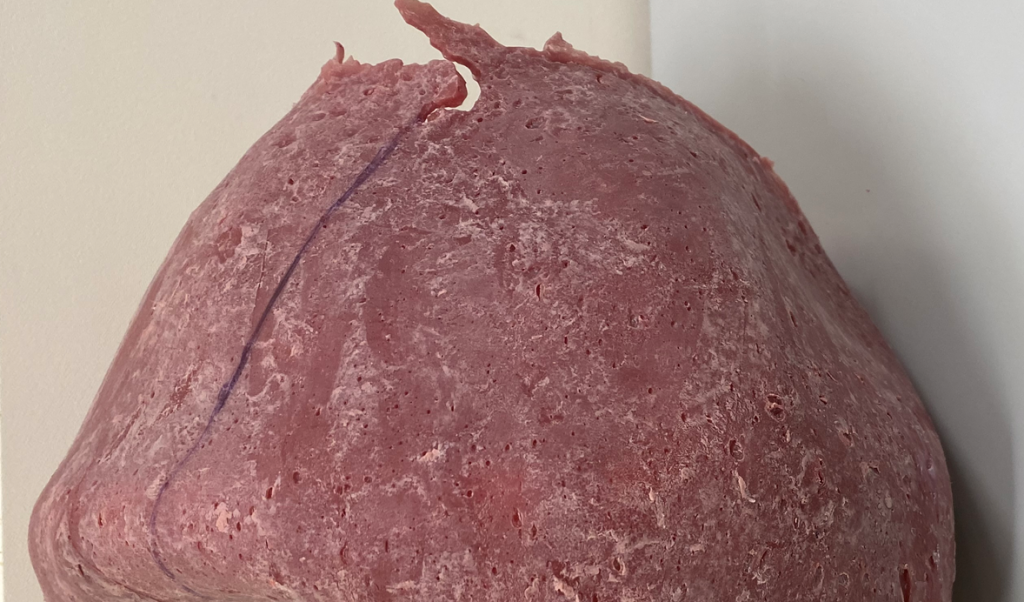
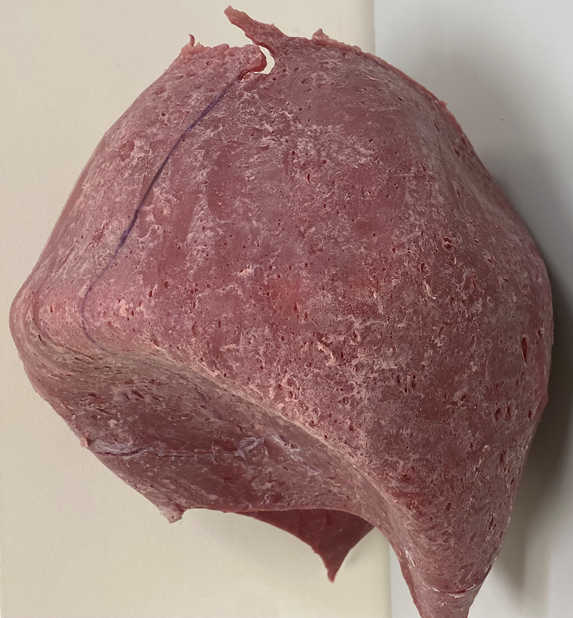
Create the lid
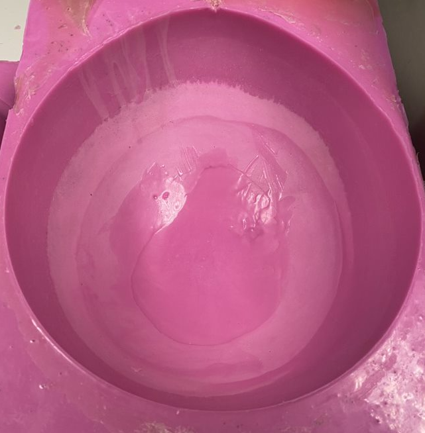
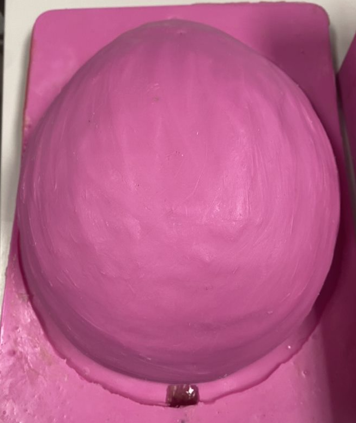
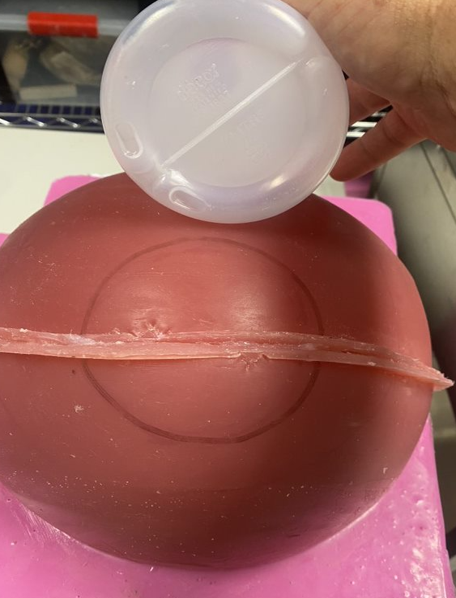
- Once the base is cured, remove the balloons and roll out the clay to create a lid for the mould.
- Place the clay to the bottom of the mould, a formed lip will make it easy to join the two halves.
- Cover the inside of the mould, place it into the box and apply a silicone release agent.
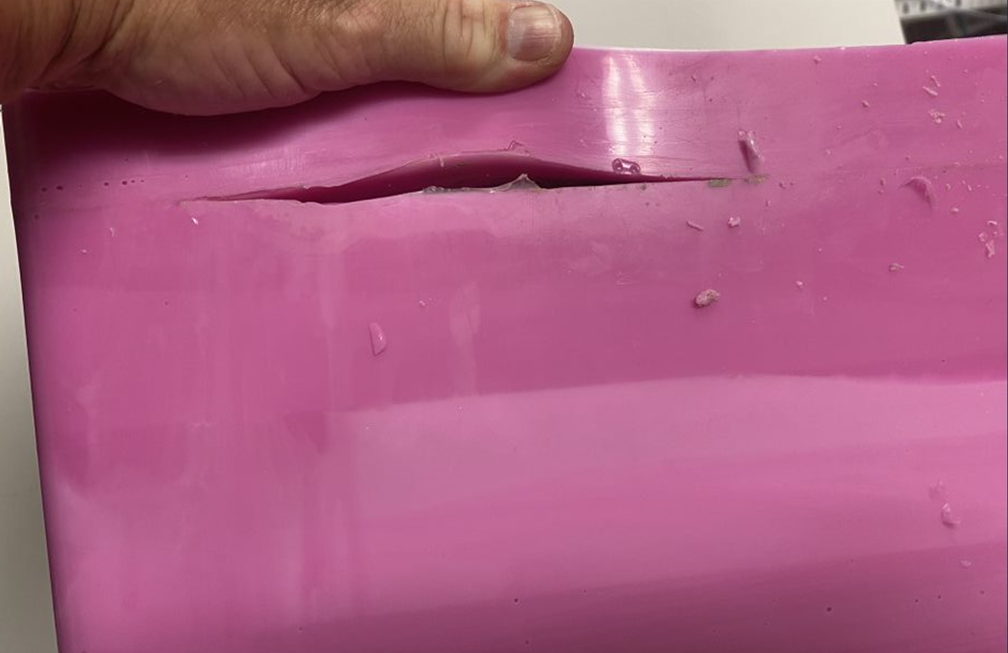
- After the curing process carefully remove the mould from the box.
- Clean any debris from moulds detail.
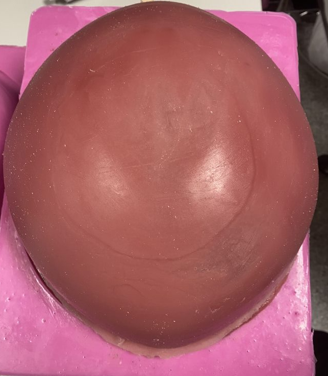
- Remove the lid to expose the complete mould.
- Apply petroleum jelly for easy removal in the next stage.
Final steps
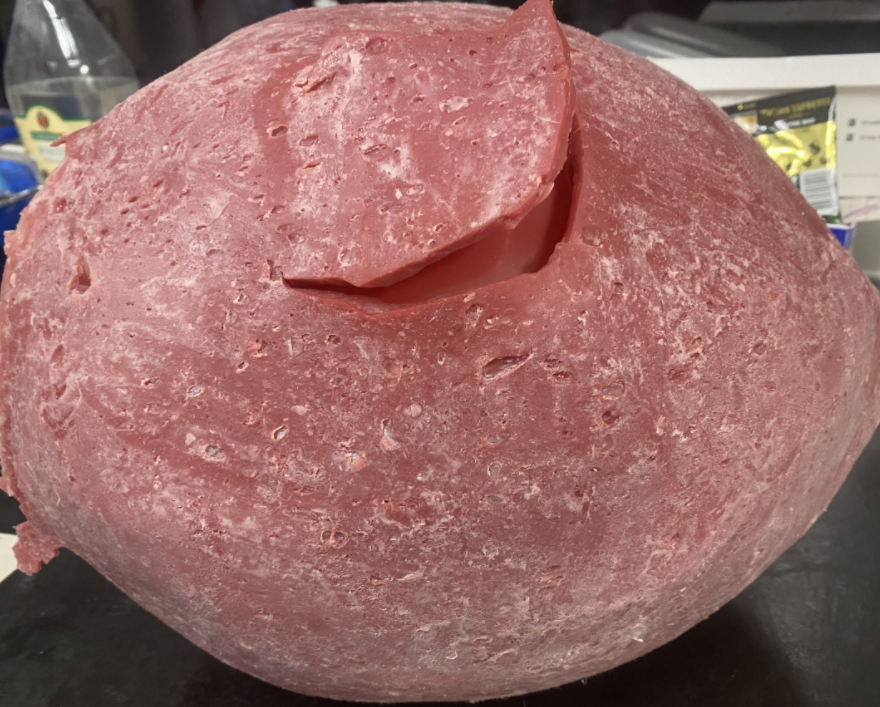
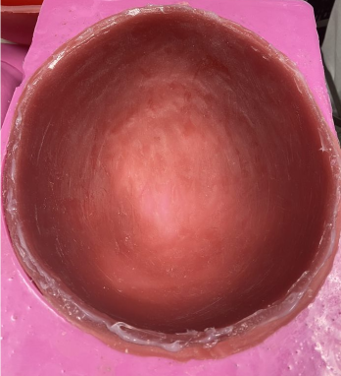
- Mix Dragon Skin 30 silicone with Silc Pig Blood to achieve the desired colour.
- Pour the mixture into the mould.
- Gently tap the sides to help to remove any remaining bubbles.
- Fill the pour hole until all pats are adequately full.
- Cure for 16 hours.
- Remove the tape, open the lid to reveal the first half of the mould.
- Repeat the process to create the second half of the mould.
- Glue the two halves together using Sil-Poxy Silicone Rubber Adhesive.
- Use a plastic bottle to create a hole for the flange fitting.

Conclusion
Developing a cost-effective mould for a fully enclosed uterus significantly enhances the realism of c-section simulations. By following the steps outlined in this blog post, approximately $545 can be saved per uterus, eliminating the need for repurchasing for each course. This innovative approach opens the possibility of providing these moulds to other hospitals or institutions, expanding the impact of simulation-based education in the field of maternity care.
CSDS would like to thank Bill Nancarrow and Sue Hampton, Mia McLanders and Paul Krohn for their support on this project.
QME's mission is to provide clinicians in the maternity setting the opportunity to enhance and improve their knowledge and skills. QME is committed to lifelong learning and want to ensure Queensland is a safe place for pregnant and birthing women by providing accessible, evidence-based, and timely training and education. To find out more about QME, please visit Queensland Maternity Education.
Do you have ideas or requests for improving healthcare through training, collaboration and innovation? Reach out to the CSDS team via the CSDS Idea and Request Form.